Showing posts with label Mom's Monday Mingle. Show all posts

Sunday, December 9, 2012

Holiday Happenings!

Hello! This past week has been full of SO much fun!  I love this time of year!  There is baking, parties and an excuse to go shopping.  I started my week out making delicious dipped pretzels.  For those of you that have not tried this before WHAT are you waiting for?  It is super easy to do.  Here is all that you need:


This is what you do:  Melt the Almond Bark, dip the pretzel, sprinkle it with your colorful sugar sprinkles and set it on parchment paper until the candy coating hardens. See?  Super easy!

Here are my dipped pretzels waiting for the candy coating to harden.

And.......this is what I did with them.  I used them on the table as part of the decoration.  (Thank you to my fellow Disney Chick, Candy, for the fabulous idea).  They looked wonderful on the table and everyone enjoyed eating them.

I also made these cute little party favors this week:

To learn how to make these adorable favors please visit Splitcoast Stampers and check out the great tutorial by Lisa Somerville.  Lisa's are decorated for Halloween but made the same way as mine shown above.

The last thing I will share today is the card that I gave to a friend this week.


I wish I could take all the credit for this gorgeous card but I cannot.  I made this in a class taught by the super talented Susan B.

Well that is all that I have for today.  Stay tuned for more holiday happenings here at Disney Girl Crafts & Other Fun Things.  Have a magical day!

This post is linked up to Super Sunday Sync, I Love My Online Friends GFC and Mom's Monday Mingle blog hops. You can find links to all of these great hops on my side bar.

Monday, October 8, 2012

Something Crafty


Hello Everyone!  I hope that you had a wonderful weekend!! I had a fun filled Saturday at the Fall Fest hosted by the Women With Scissors.  This Fall Fest was not about hayrides and pumpkin picking.  This Fall Fest was all about card making, scrapbooking, make & takes and challenges.  There were three make & takes offered and I was able to complete two of them.
This adorable Trick Or Treat bag was at my table when I arrived.  Isn't it too cute?!

Here are the two make & takes that I did:

This adorable pumpkin was taught by WWS Gal, Kelly.
This Thanksgiving mini book was taught by WWS Gal, Susan.  This was a two part make & take.  We did part one in the morning and part two in the afternoon.  I need to give a shout out to WWS Gal, Ann, thanking her for her part in this book.  She could not be at the event so Susan taught Ann's make & take portion of this great mini book.  We missed you Ann!!

Here is a sample of the inside.

I  also completed this Halloween card.  The image is from Stampendous.  I colored her using my Prismacolor pencils and Mineral Spirits. 


The Fall Fest would not of been complete without a costume.  I went SUPER easy........a hat, mask & cape!!  This worked out well for me.  I could wear it when it was costume parade time and take it off in a flash so that I could craft. Needless to say my Saturday was super fun!  The WWS Gals always host a fantastic event! 

I hope that all of you have a very magical day and that you get to do something that you enjoy.  Thanks so much for taking the time out of your day to stop by Disney Girl! I appreciate it.


Linked up to Mom's Monday Mingle, I Love My Online Friends GFC & Friday Chaos Hops.


Tuesday, October 2, 2012

All About My Trip

My daughter and I had a fantastic time on our recent trip to Disneyland!  As I mentioned in my previous post we spent 40 1/2 hours in the Park over the course of three days!  On day one we arrived at the park at a bright and early 7:30 am.  (No I did not have a Magic Morning entry.  I was just excited to be there).  Arriving early paid off.  Look who greeted us:


Doesn't it look like we have the park all to ourselves?  (Ignore the groundskeeper in the background).  After visiting with Mickey and a few other characters along the way it was off to ride the Matterhorn.


The last time we were at Disneyland the Matterhorn was closed for refurbishment (new bobsleds were being added).  On this trip we were extra excited to ride the Matterhorn and try out the new bobsleds.  Now, I have nothing against the old bobsleds but they were a bit of a rough ride.  The new bobsleds are a much smoother ride (translation - easier on your body.  Kids don't notice being whipped around on a ride but I know that some of us grown-ups do.)  So much fun riding this with my sweet girl!


For those of you wondering and I know that some of you are .............. Yes!  I ate MANY cookies.  Here I am with cookie #1 of the trip!  Isn't it too cute. It is decorated as a piece of candy corn!!
I don't know if any of you happened to notice how hot it was in Anaheim this past weekend.  It reached over 90 degrees while I was there.  One one would think that since I live in the desert that I would be used to the heat.  Well that is not the case.  I never go outside to "play" in 90 degree plus heat.  We did manage to stay cool at the park though. (Thank you Splash Mountain!!)  I found a great hat that would of kept the sun off of us.  After trying it on my daughter said no to the purchase.  I wonder why?????????  Wearing an umbrella type hat must not be a cool thing for a pre-teen to wear.


Here is a second shot of me in it (just in case the first one was not enough for ya).

Well that's all I have for today.  Tomorrow is my favorite day of the week!  It is Wordless Wednesday over at Focused On The Magic.
The theme for tomorrow is "Your October Calendar Shot".  I can't wait!  My sweet girl & I attended Mickey's Halloween Party and came across some fun things!  Wait until you see the pics!  Until then, have a magical evening. Thanks so much for stopping by!!

This post is linked up at some fun hops: I Love My Online Friends GFC ,  Friday Chaos,  Mom's Monday Mingle, and You're Gonna Love It Tuesday.   Be sure to head on over to these great hops and check them out.

Sunday, September 16, 2012

Chocolate Chip Bundt Cake

Last week while it was raining outside I made this delicious chocolate chip bundt cake. This is actually a Weight Watchers recipe. 


Ingredients:

1 sprays cooking spray                                                                3/4 cup water
2 tsp all-purpose flour                                                                  2 Tbsp vegetable oil
18 1/2 oz unprepared yellow cake mix                                         1 1/2 tsp vanilla extract
1 package instant vanilla pudding dry mix, 3.4 oz                          1/2 cup mini chocolate chips
8 oz fat-free egg substitute                                                           1 Tbsp powdered sugar
8 oz fat-free sour cream

Directions:

Preheat oven  to 350 degrees.  Coat a 12-cup bundt pan with cooking spray, dust the inside of the pan with flour and set aside.

Combine cake mix, pudding mix, egg substitute, sour cream, water, oil and vanilla in a large mixing bowl.  Using an electric mixer, mix on low speed for 30 seconds until dry ingredients are moist, about 30 second.  Then mix on medium speed until batter is almost smooth, about 2 minutes; fold in chocolate chips.

Pour batter into prepared pan and level the surface.  Bake until a wooden pick inserted near the center comes out clean, about one hour.  Allow to cool in pan on a wire rack for 20 minutes; invert cake onto rack and cool completely.  Sift powdered sugar over cake just before serving; slice into 16 pieces.

Recently, I could not find the 18 1/2 oz yellow cake mix.  The one that I bought was a smaller mix and it worked just fine.  The only difference when using a smaller cake mix is that the baking time is less.

This is a delicious dessert for any occasion and super easy to make!  If you try it let me know how you like it.  Thanks so much for stopping by.  Have a magical day!!

This recipe is linked up to some great blog hops:  I Love My Online Friends GFC Hop, Mom's Monday Mingle #21,  and Wonderful Wednesdays Link Party #19.  Be sure to head on over, link up & hop around. 

Monday, September 10, 2012

Vanilla Chex Mix

We actually had rain here in the desert this morning.  Since we don't get it too often it is definitely a big deal when we do!  That being said the rain & cloudy weather made me feel like baking today.  Here is what I made:

Delicious Vanilla Chex Mix!


Here is the recipe:

Ingredients:

1 bag semisweet chocolate chips                                     2 cups small pretzel twists                             
3 cups Corn Chex cereal                                                 2 cups miniature marshmallows
3 cups Rice Chex cereal                                                 1 (20 oz) pkg. vanilla-flavored candy coating
3 cups Wheat Chex cereal                                                 (almond bark/ambrosia)
2 cups dry-roasted nuts (peanuts, cashews, or almonds)

 
Directions:  Place chocolate chips in freezer to chill.  Mix cereals, peanuts, pretzels, and marshmallows in large bowl; set aside.  Microwave candy coating in large uncovered microwavable bowl on high for 1 minute 30 seconds.  Stir, breaking up large chunks.  Microwave about 30 seconds more or until coating can be stirred smooth.  Gently and quickly pour coating onto cereal mixture and fold in until evenly coated.  Stir in chilled chocolate chips.  Spread on waxed paper; cool completely.  Break into chunks.  Store in airtight container in refrigerator.  Yields 20 servings.

This recipe is a favorite with my family and friends.  My fellow Disney Chick, Candy, found this recipe several years back in Paper Crafts Magazine.  It was an instant hit with all of us!

I hope all of you give this recipe a try.  You will love it!  I am off to finish baking my cake.  Have a magical day and thanks for stopping by!

This delicious recipe is linked up at the following hops:  Mom's Monday Mingle #20 , I Love My Online Friends GFC, Keep Calm & Link Up, You're Gonna Love It Tuesday, and Wonderful Wednesday Link Party #18.  Head on over to these awesome blogs, link up and join the fun!

Saturday, September 1, 2012

Punching Around On Friday

Hello Everyone!  Yesterday I took a fantastic card class taught by the very talented Susan B.!  The focus of the class was to learn how to "punch around the page" (or card in this case).  That being said we were able to try various punches and ended up with beautiful cards.  I thought that I would share them with you.

This was our practice "punch".  We worked our way up to "punching around" the entire card.  Isn't this tag adorable?


This is the final card that I made.  After at least three tries I "punched" around the entire card.  I had some trouble lining the punch up the first few times.  LOL

The class was a lot of fun.  It was great to be able to try various punches. It is always a fun thing for me to try out a product prior to purchasing it.  This way I know exactly what I would like to buy.

I hope that everyone is enjoying their holiday weekend!  Thanks for stopping by.

These beautiful cards are linked up to the Mom's Monday Mingle #19 .  Be sure to head on over there and hop around. 

Sunday, August 26, 2012

Photo Card - Fast and Easy!

Hello Everyone!  I wanted to share with you a fast & easy way to make a birthday card (or thinking of you card) that the recipient is sure to enjoy.

First pick a photograph that you know the recipient will like.  Preferably pick a photo that he/she has yet to see.


Secondly, pick out two colors of card stock that goes well with the photo that you have chosen.  One piece will be for your card (base) and the other will be for your mat.

Cut your sheet of 8 1/2 x 11 card stock in half (so that it is 4 1/4 x 5 1/2).  Score this piece of card stock in half.  This is your card base.

Next cut your "mat".  I usually cut mine at 4 x 5 1/4.  You will place your mat on top of your folded card.  The mat goes between your folded card and photo. Now trim your photo to fit the mat.  Place the mat on the folded card and then adhere your photo on top of the mat.

My card base is blue & my mat is red.

Stamp a sentiment inside the card.  There you go!  You have a hand made card!  If you want to make it a little fancier you could add ribbon or an embellishment to the front. I used a corner rounder on mine. There are a lot of ways to fancy it up but the purpose of this card is that it is a quick & easy card to make. This is one that you can make if you are in a hurry.  I love to make this type of card for a child's birthday.  Children LOVE to see pictures of themselves.  I have also made thank you cards like this and used a group photo of friends on the front.  What ever picture you decided to use this card is sure to be a hit! I think that I am using this one for Grandparents Day which is in early September.  What Grandparent would not love a photo card?
 
Thanks so much for stopping by! I hope that you have a magical day!!

This card making tip is linked up over at Printabelle Wonderful Wednesday Link Party #16,  Weekend Blog Walk #16 over At Home Take 2,  Mom's Monday Mingle #18 over at The Naptime Review, and 
at The Things We Find Inside I Love My Online Friends. 
Be sure to head on over to these great blogs, link up & join the fun!  Also hop around and visit those that are also linked up.

Saturday, August 11, 2012

Tigger Time


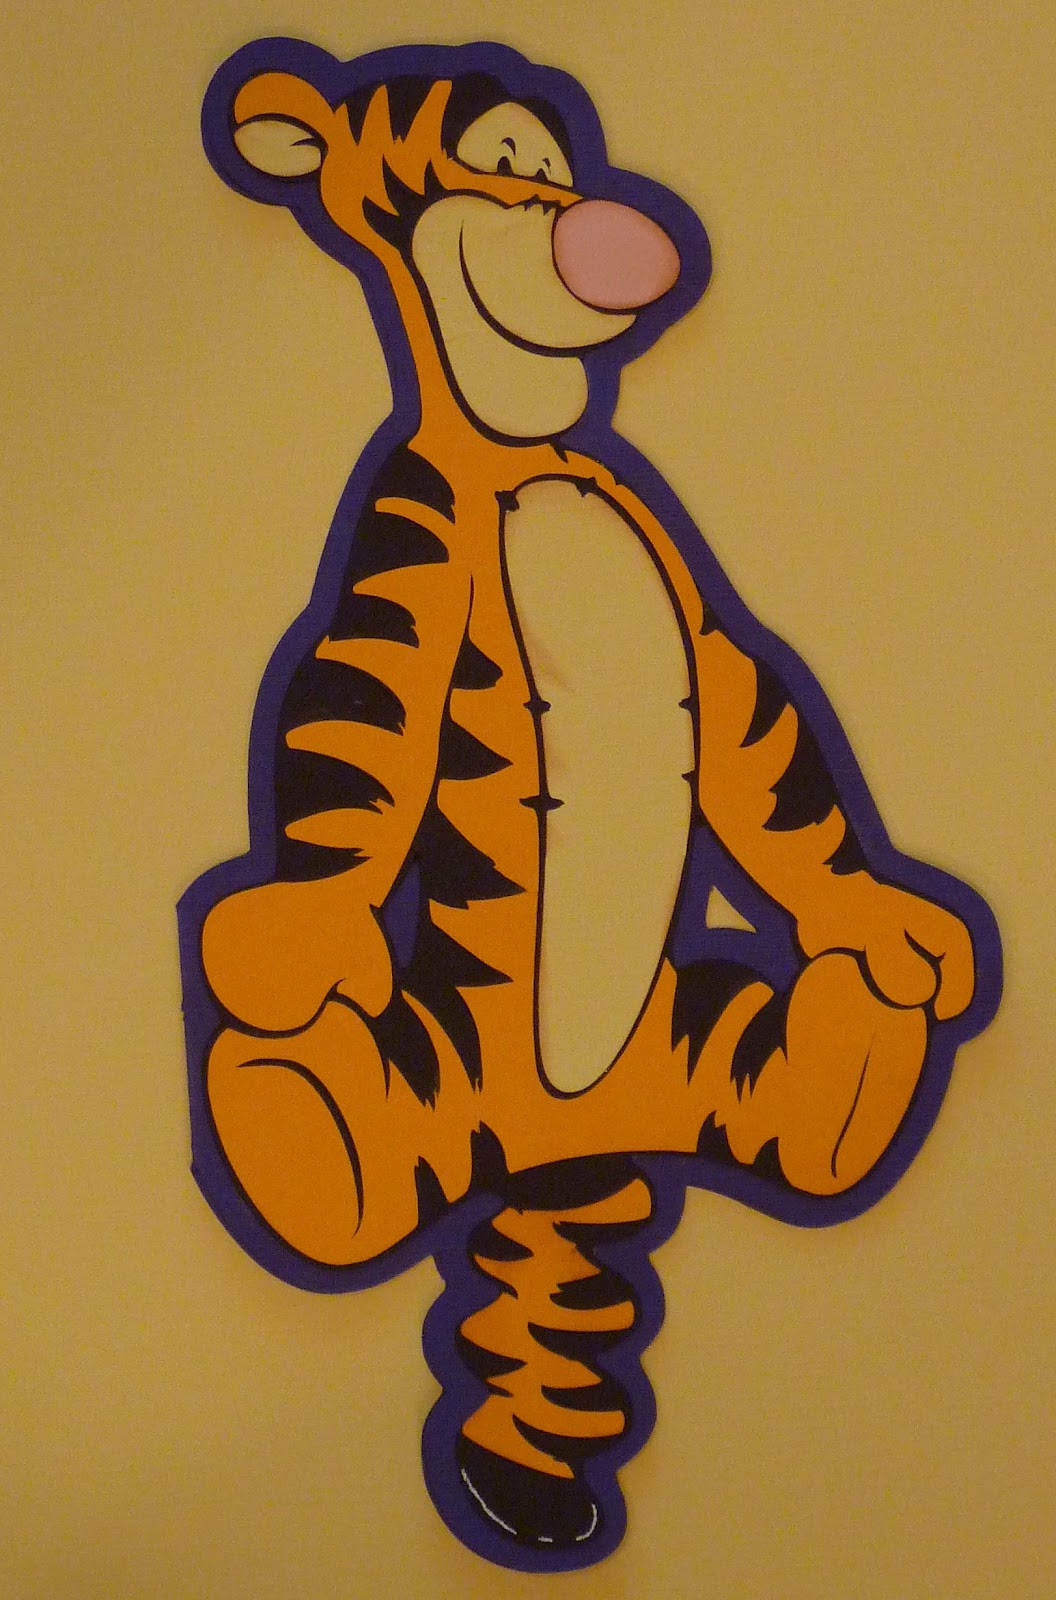
My boss of 28 years recently sold his dental practice and is now easing into retirement.  Yesterday the staff took him out to lunch to celebrate his retirement.  I made him this Tigger card.  I used the Pooh and Friends Cricut cartridge and my Gypsy to weld Tigger so that he could be a card.  (The weld is on the lower left portion of the card.) I also inked all my edges using a brown chalk ink.

You may be wondering why I would make a Tigger card for a retiring dentist.  Well on a great day at work we would joke that our Dr. was very "Tigger" like and on a bad day he was very "Eeyore" like.  I felt that since he is retired he is definitely in a "Tigger" state of mind! 

Two Tigger fun facts for you:

  • Tigger debuted in 1968 in Winnie  The Pooh & The Blustery Day.
  • Tigger is exuberant & fun loving.


I hope that all of you are enjoying your Saturday!  It is a hot one here in Arizona today.  I plan on staying in where the air conditioning is and crafting the day away.  Thanks for stopping by!
 
Tigger is linked up over at one of my favorite link parties, Printabelle Wonderful Wednesday Link Party #14 .  Head on over there, link up & check out all of the great blogs.  

I have also linked Tigger up to Mom's Monday Mingle #16  over at the Naptime Review.  This is a great "Mingle"  and I encourage you to check it out. You will love it!  You also might make a few new blogging buddies.


Monday, August 6, 2012

Fun Disney Things From London


I am a HUGE Disney fan.  I am also a HUGE fan of toys and vintage children's books.  The toys can be vintage or they can be brand new. They can be Disney related or not.  Usually they are.  Though I have many Barbies that are not Disney.

With the Olympics being held in London I started to think about my Minnie Mouse, the Queen of my toy room.  Recently my husband took a business trip to London.   He had very little free time while he was there.  Lucky for me he used that time to track down a Disney store and pick me up a few things.  I thought that I would share those with you.

A London shopping bag, pin and Minnie as the Queen.
Isn't Minnie just too cute in her Queen outfit?  Thank you again to my hubby for picking me up these great Disney items.

How many of you are watching the Olympics?  I really enjoy all of it.  Just when the swimming competition is ending I find myself getting caught up in the track and field events.  I hope that you are all having a Magical Monday!  Thanks for stopping by.


This is linked up over at The Nap Time Review Mom's Monday Mingle #15  Head on over there and check out all of the great blogs and link up your own!


Sunday, July 29, 2012

Pizza Memories

The Big Z


Yes, this is a post about pizza.  Not just any ordinary pizza but a "Zachary's Pizza".  Zachary's Pizza is where I have celebrated many happy occasions. It is also where I have went if I needed cheering up.  Zach's (as we have called it)  is where we went before we were married and where we have gone since.  It is what I have had for my Valentine's dinner with my hubby for the past eleven years.  He always picked up a "Big Z" (our favorite) and brought it home on Valentine's Day (a tradition we started when I was pregnant).  I am sad because Zach's Pizza is closing.  Last week my family ate our last "Big Z".  We will miss not only the great pizza but the wonderful staff and all the charm the place held.


This post is linked to the Mom's Monday Mingle #14  at The Naptime Review.  Head on over there and check out all the great blogs.